
 to open the **Measurement** panel. The icon changes color.
| # | Description |
|---|---|
| 1 | Tools for measuring distances. |
| 2 | Tool for measuring areas. |
| 3 | Tool for measuring circular areas. |
| 4 | Snap tool. Check the box to activate it. |
| 5 | Layers available in the project to snap measurements to. Select the layer whose features will be used to snap measurements. |
| 6 | Tools to:
|
| 7 | Help for taking measurements. |
 to activate the tool. Help is displayed in the help area at the bottom of the map.
2. Click once on the map to begin the measurement.
3. Click on the map to establish the vertices of the line.
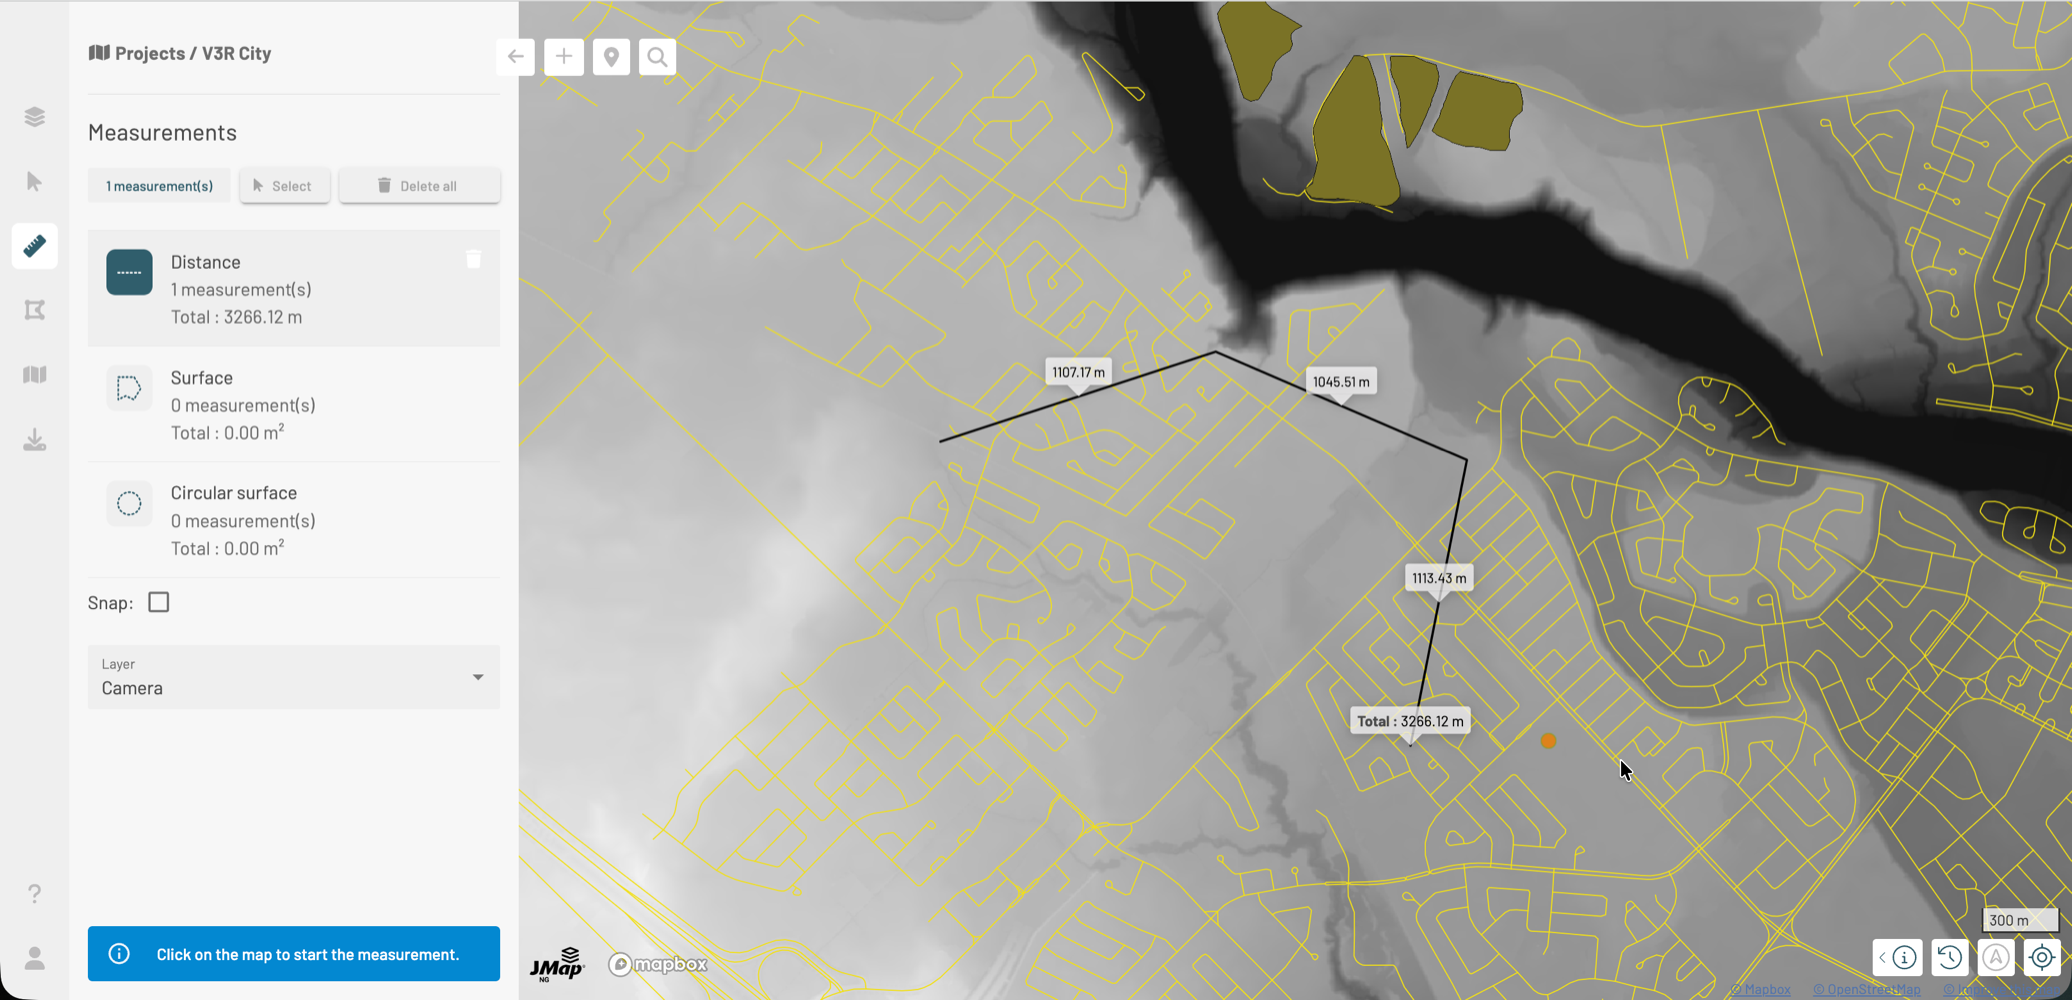
4. Double-click or press the Space key to finish the measurement. The length of each segment and the total length of the line are displayed on the map. The total distance is also displayed in the Distance card.
5. Repeat measurements as needed. The lines are displayed on the map and the total distance of all lines is shown in the Distance card.
to activate the tool. Help is displayed in the help area at the bottom of the map.
2. Click once on the map to begin the measurement.
3. Click on the map to establish the vertices of the line.
4. Double-click or press the Space key to finish the measurement. The length of each segment and the total length of the line are displayed on the map. The total distance is also displayed in the Distance card.
5. Repeat measurements as needed. The lines are displayed on the map and the total distance of all lines is shown in the Distance card.
 in the **Distance** card to clear the lines.
### Area
This tool measures areas by drawing polygons. The unit of measurement is selected in the [user settings](/en/jmap-ng/jmap-ng-user-guide/introduction/user-profile-and-settings.md).
1. Click
in the **Distance** card to clear the lines.
### Area
This tool measures areas by drawing polygons. The unit of measurement is selected in the [user settings](/en/jmap-ng/jmap-ng-user-guide/introduction/user-profile-and-settings.md).
1. Click  to activate the tool. Help is displayed in the help area at the bottom of the map.
2. Click once on the map to begin the measurement.
3. Click on the map to establish the vertices of the polygon.
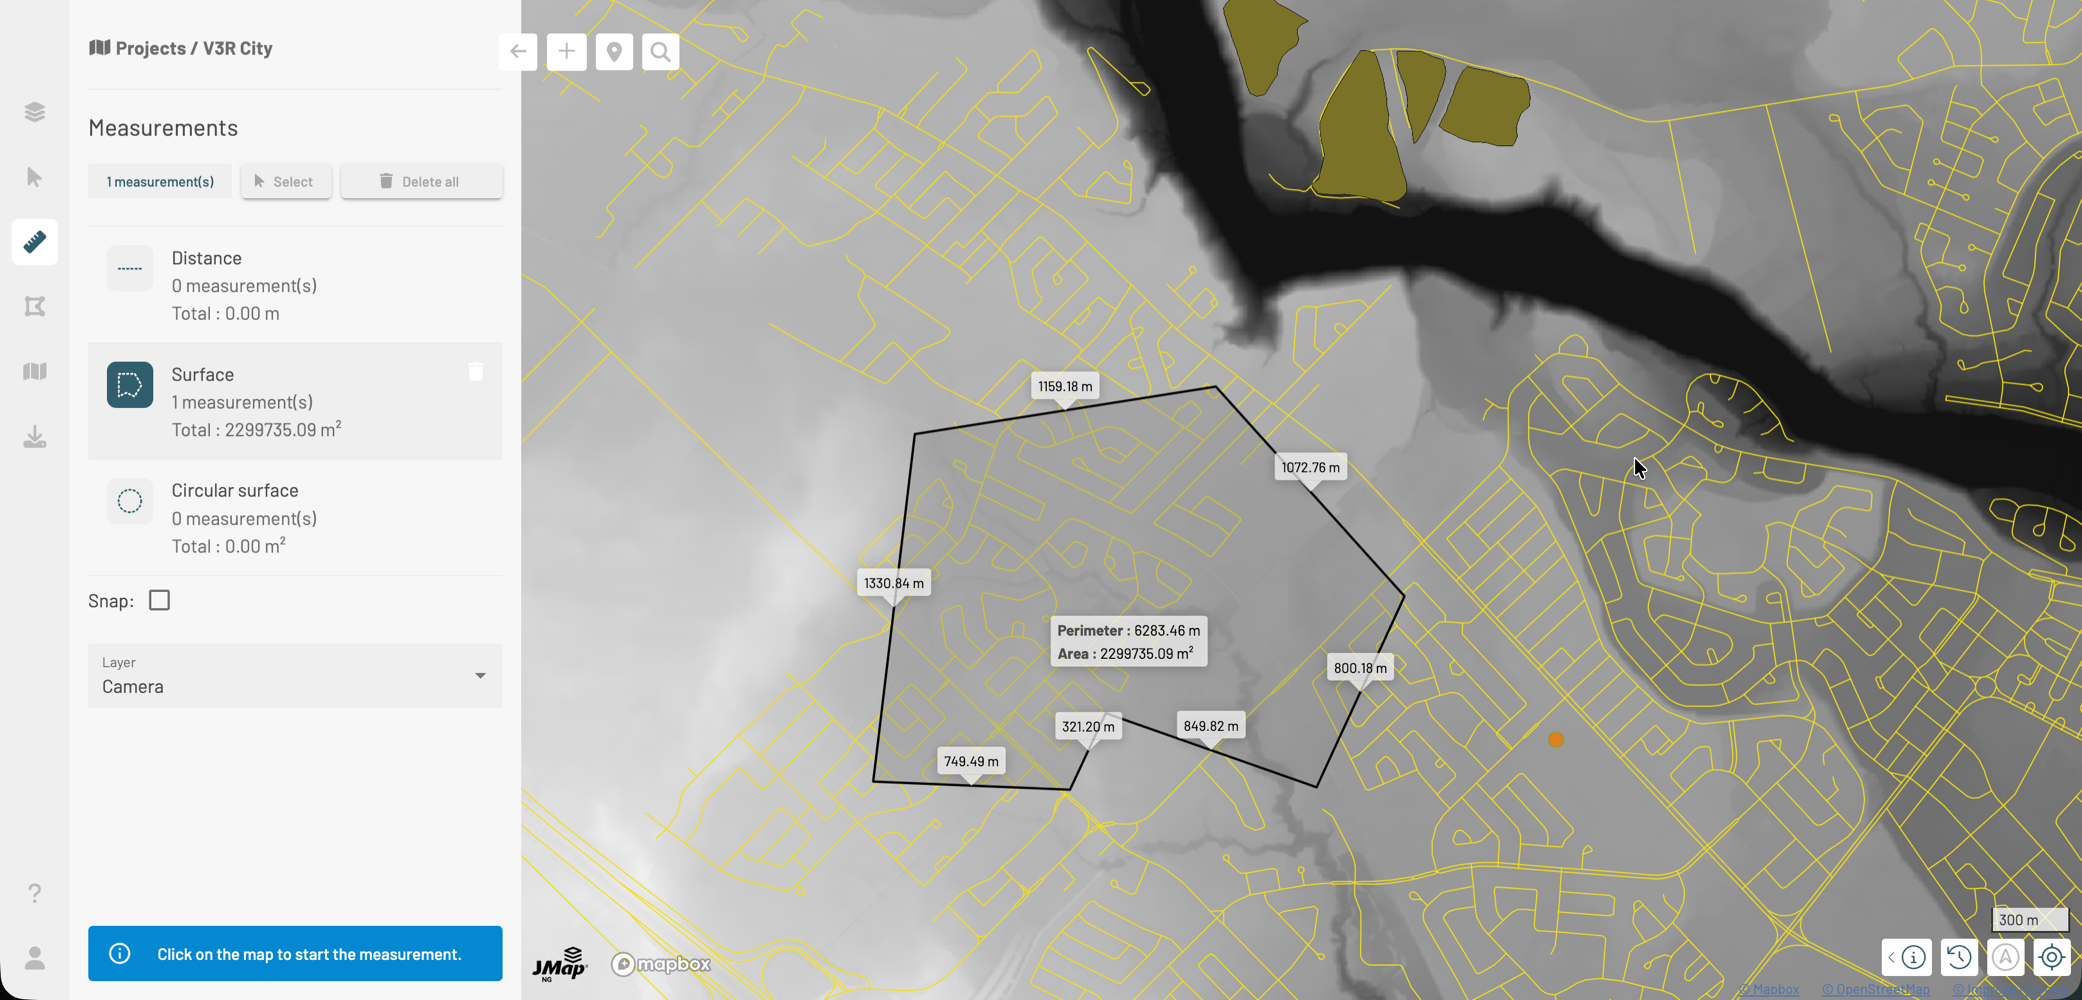
4. Double-click or press the Space key to finish the measurement. The length of each segment, the perimeter, and the area of the polygon are displayed on the map. The area is also displayed in the Area card.
5. Repeat measurements as needed. The polygons are displayed on the map and the total area of all measurements (polygons) is shown in the Area card.
to activate the tool. Help is displayed in the help area at the bottom of the map.
2. Click once on the map to begin the measurement.
3. Click on the map to establish the vertices of the polygon.
4. Double-click or press the Space key to finish the measurement. The length of each segment, the perimeter, and the area of the polygon are displayed on the map. The area is also displayed in the Area card.
5. Repeat measurements as needed. The polygons are displayed on the map and the total area of all measurements (polygons) is shown in the Area card.
 in the **Area** card to clear the measurements.
### Circular Area
This tool measures areas by drawing circles on the map. The unit of measurement is selected in the user settings.
1. Click
in the **Area** card to clear the measurements.
### Circular Area
This tool measures areas by drawing circles on the map. The unit of measurement is selected in the user settings.
1. Click  to activate the tool. Help is displayed in the help area at the bottom of the map.
2. Click once on the map to begin the measurement by establishing the center of the circle.
3. Drag the cursor on the map to establish the radius of the circle.
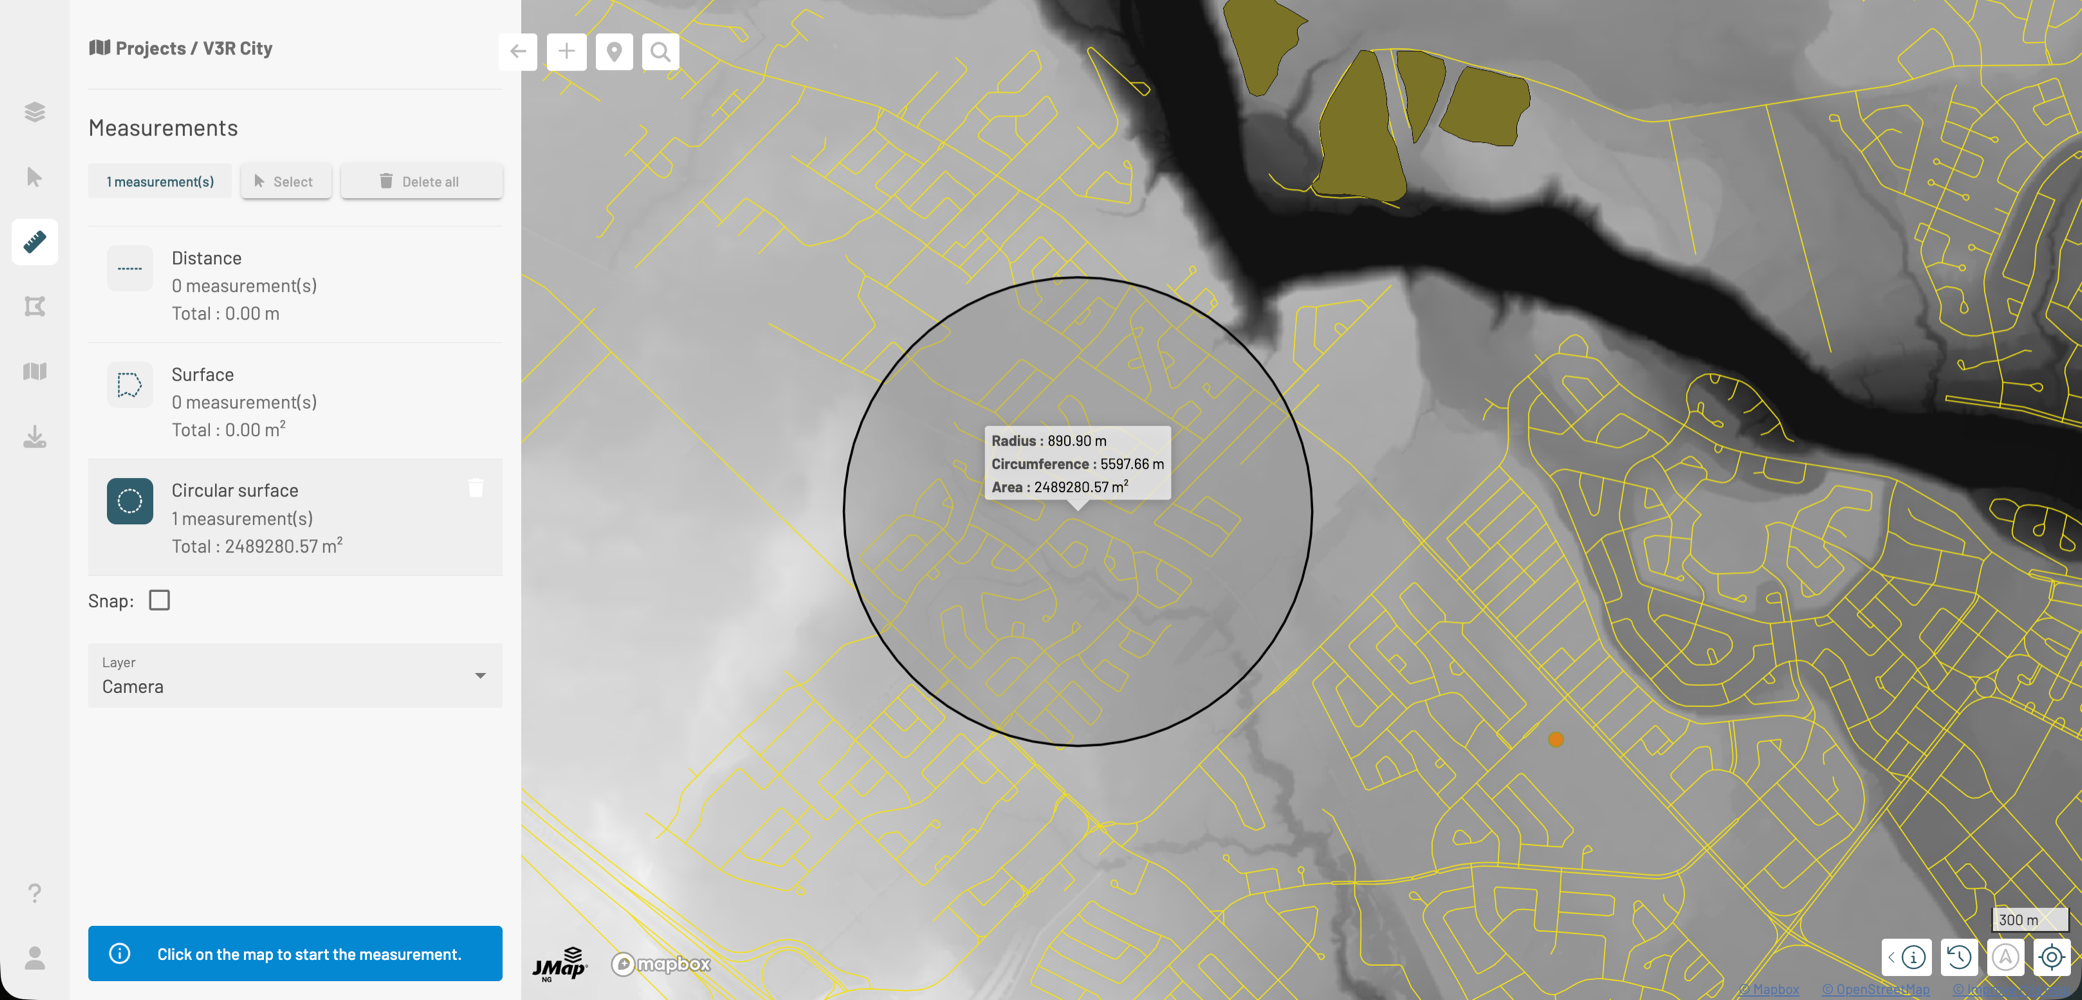
4. Click on the map or press the Space key to finish the measurement. The radius, circumference, and area of the circle are displayed on the map. The area is also displayed in the Circular Area card.
5. Repeat measurements as needed. The circles are displayed on the map and the total area of all measurements (circles) is shown in the Circular Area card.
to activate the tool. Help is displayed in the help area at the bottom of the map.
2. Click once on the map to begin the measurement by establishing the center of the circle.
3. Drag the cursor on the map to establish the radius of the circle.
4. Click on the map or press the Space key to finish the measurement. The radius, circumference, and area of the circle are displayed on the map. The area is also displayed in the Circular Area card.
5. Repeat measurements as needed. The circles are displayed on the map and the total area of all measurements (circles) is shown in the Circular Area card.
 in the **Circular Area** card to clear the circles.
## Snap Tool
The **Snap** function allows you to snap the pointer that defines each vertex to features (points, vertices, or line segments) of the layer you select. This results in more precise measurements.
Check the box to activate the tool and select the layer to which the vertices of your measurements will be snapped.
As you bring the pointer close to a point, vertex, or line segment of the selected layer, the pointer snaps to the feature and you only need to click to establish the vertex of your measurement.
## Modifying Measurements
You can modify the shape and location of measurements, or delete them. You can modify the shape of one measurement at a time. You can modify the location or delete multiple measurements at once.
### Modifying the Shape of a Measurement
1. Click **Select** to select the measurement to modify. The button changes color.
2. Select the measurement you want to modify by double-clicking on it. The vertices of the line, polygon, or circle are displayed.
3. Select a vertex by clicking on it to move it. The vertex turns black.
4. Drag and drop the vertex to the desired position to modify the shape of the measurement.
5. Click the map to finish modifying the shape of the line, polygon, or circle.
in the **Circular Area** card to clear the circles.
## Snap Tool
The **Snap** function allows you to snap the pointer that defines each vertex to features (points, vertices, or line segments) of the layer you select. This results in more precise measurements.
Check the box to activate the tool and select the layer to which the vertices of your measurements will be snapped.
As you bring the pointer close to a point, vertex, or line segment of the selected layer, the pointer snaps to the feature and you only need to click to establish the vertex of your measurement.
## Modifying Measurements
You can modify the shape and location of measurements, or delete them. You can modify the shape of one measurement at a time. You can modify the location or delete multiple measurements at once.
### Modifying the Shape of a Measurement
1. Click **Select** to select the measurement to modify. The button changes color.
2. Select the measurement you want to modify by double-clicking on it. The vertices of the line, polygon, or circle are displayed.
3. Select a vertex by clicking on it to move it. The vertex turns black.
4. Drag and drop the vertex to the desired position to modify the shape of the measurement.
5. Click the map to finish modifying the shape of the line, polygon, or circle.

